

In this guide, we’ll walk you through the process of installing Citra on a Windows 10 or 11 PC. You can either download the pre-compiled version of Citra or compile it yourself from the source code.
WINDOWS
| File Name | Citra Windows MSVC |
| File Size | 29.6MB |
| Version | r608383e |
| Developer | Citra Team |
| Release Date | 29 September 2024 |
WINDOWS
| File Name | Citra Windows MSVC |
| File Size | 31MB |
| Version | 2104 Nightly |
| Developer | Citra Team |
| Release Date | 4 March 2024 |
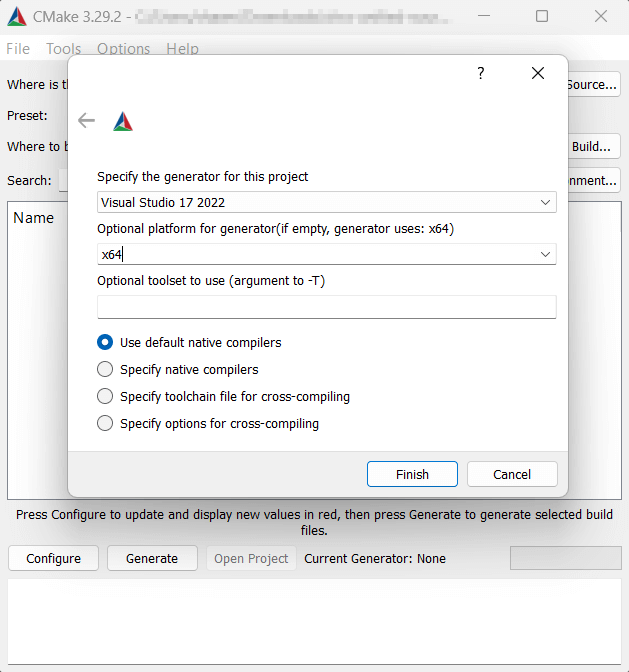
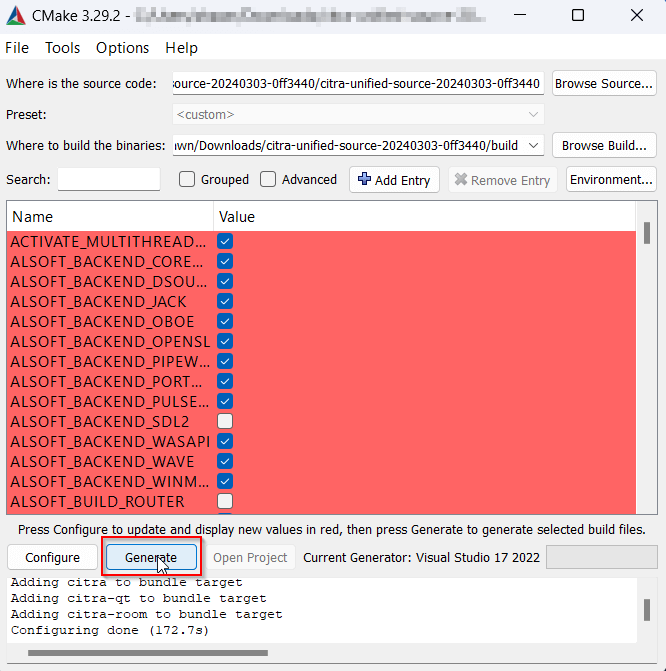
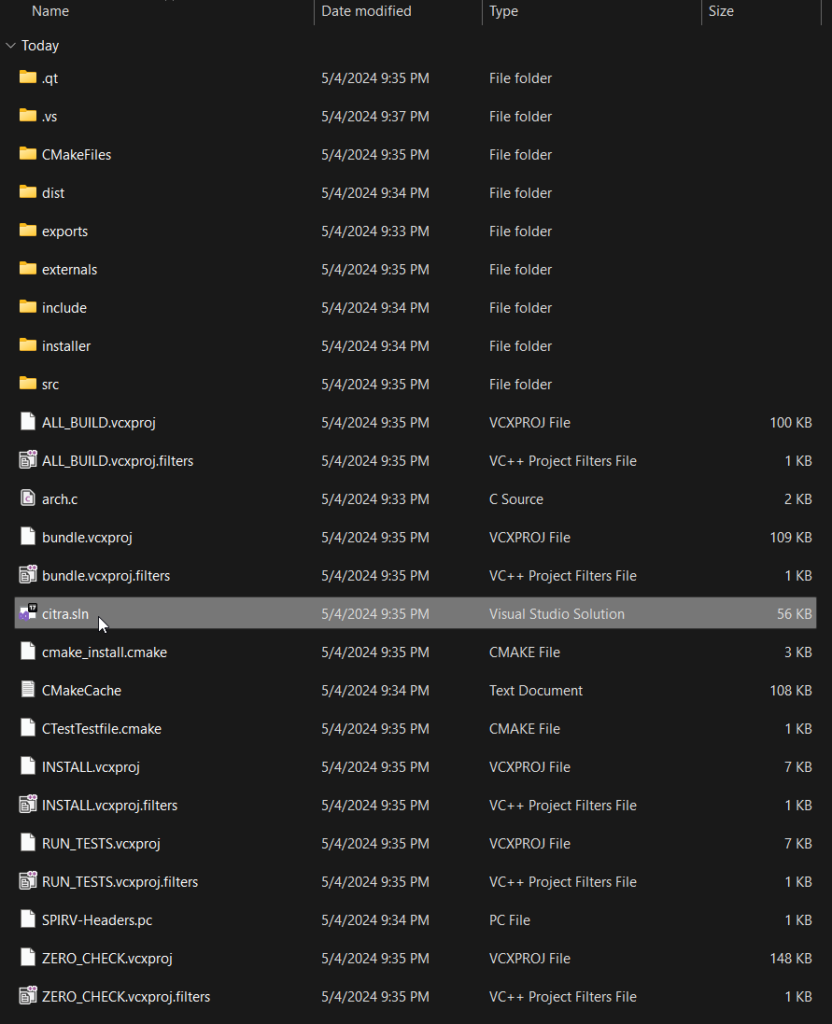
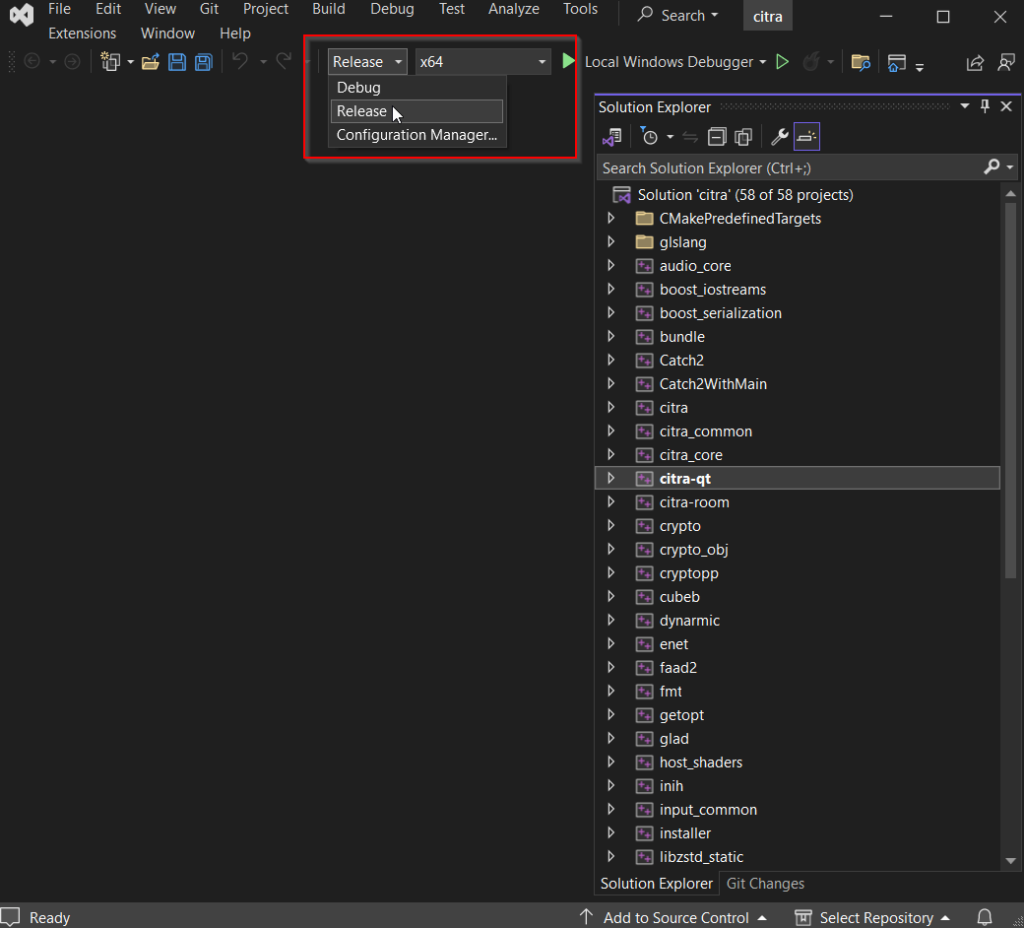
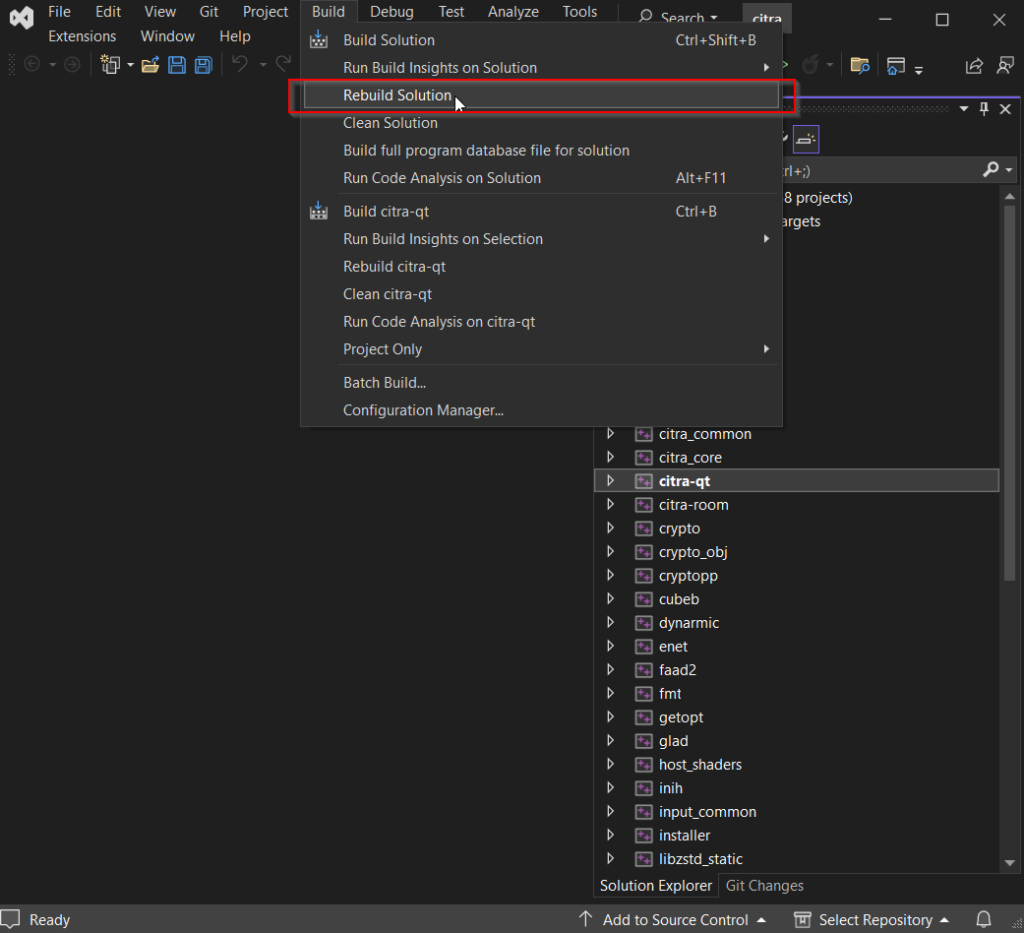
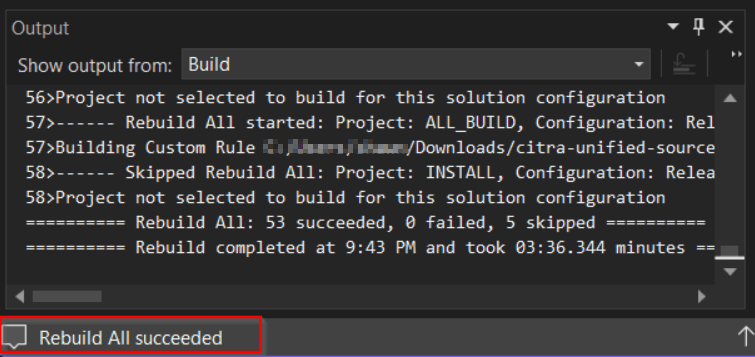
Build the Solution:
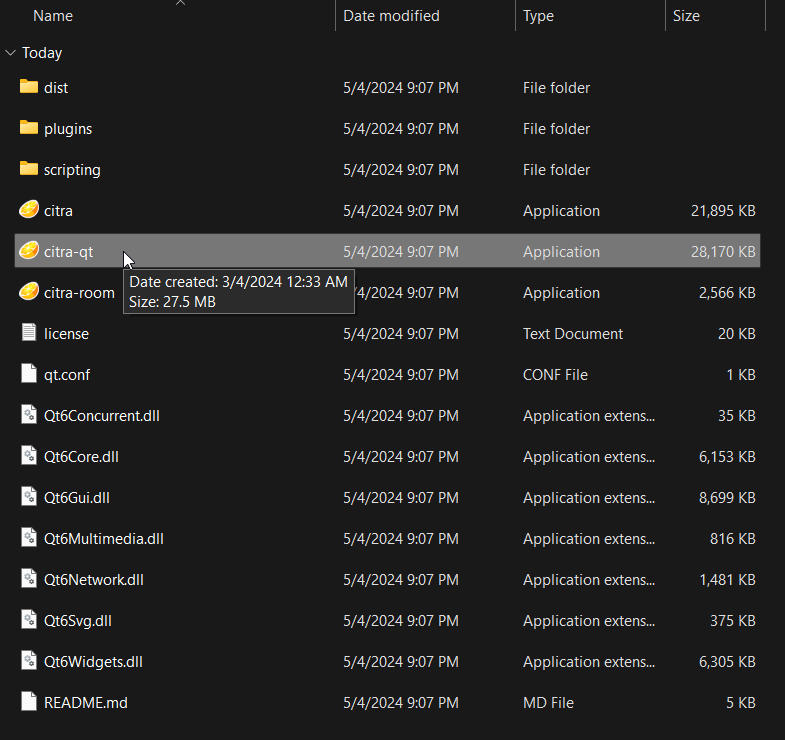
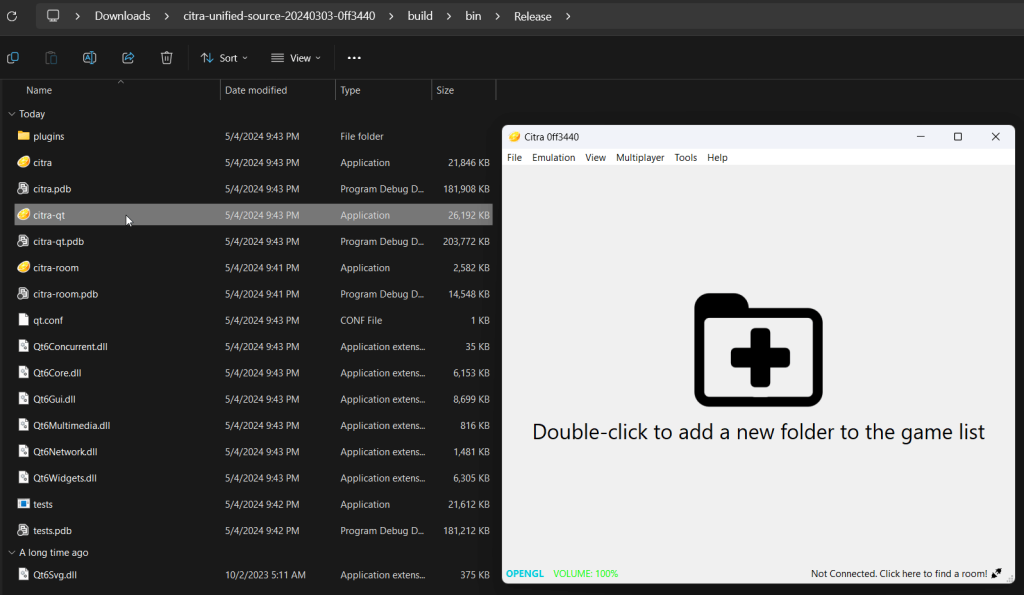
Launch Citra:
By following these steps, you can either install or build Citra from scratch, depending on your preferences!